

Localisation in WordPress Part 1
Recently I have been looking into how to work with WordPress and I was curious if it is easy to localise your site once you have set up some content in it.
In this blog post I'm looking at how to localise the WordPress interface as well as content. If you are looking for information about how to prepare plugins for internationalisation, have a look at the WordPress documentation. I will not be covering this in this post.
Localisation happens after internationalisation and is important for everyone who is interested in localising their WordPress site. It's the process during which your theme and content get translated and adapted for a specific market and language.
There are two steps that you might be interested in:
- How to use a localised version of WordPress
- How to translate your content
How to use a localised version of WordPress
If you haven't installed WordPress yet, simply head over to their site WordPress.org and download your localised version of WordPress and unzip it in your preferred installation directory. Normally that's public_html. Then create a database for WordPress on your web server and add a MySQL user with all the necessary privileges. Next edit the wp-config.php file and add your database information. Finally run the WordPress installation by accessing the URL in a web browser.
If you already have WordPress installed and would like to change the language of the user interface, simply log into your dashboard, click on Settings > General, then scroll down to the bottom of your page to Site Language and select the language of your choice from the dropdown.
However, this will only change the language used in the backend of your WordPress site. All the content you have written as well as your theme and any plugins you use will remain in the language you set them up in. To translate content, you require a separate plugin.
Localisation Plugins
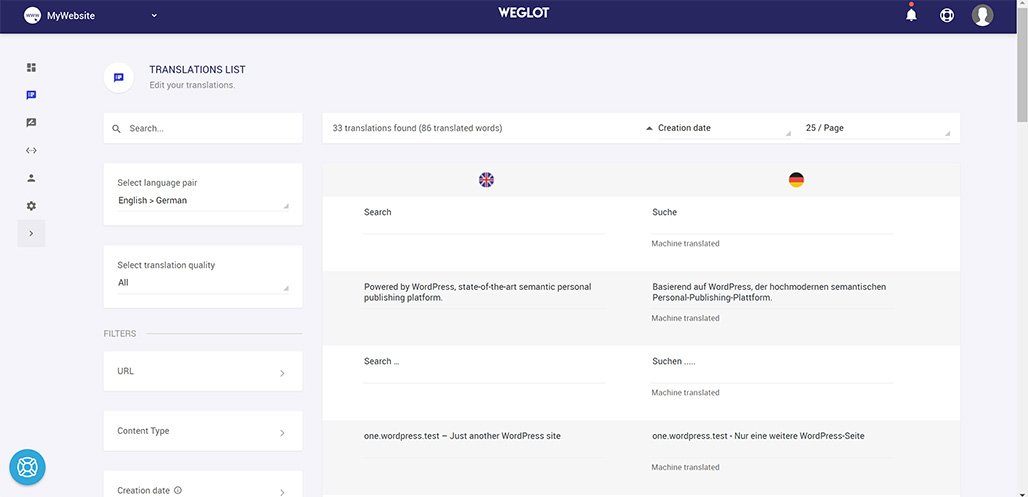
WeGlot
There are a number of plugins out there. When I looked up plugins, I initially tried out WeGlot, which has a free version available to test the setup. It was very easy to set up and intuitive to use. Once you create an account with WeGlot, they will take you through the setup step by step.
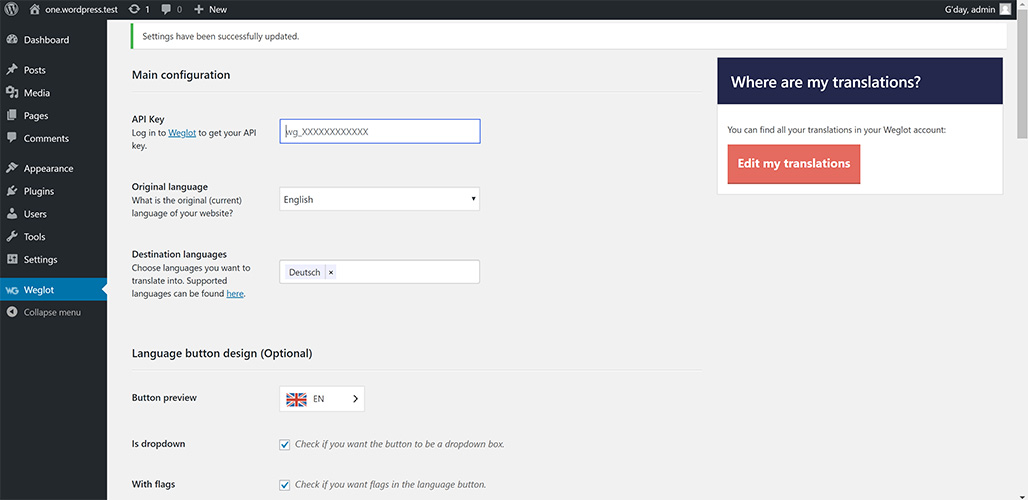
One drawback for me was that translations are edited in your WeGlot account rather than directly in WordPress.
Polylang
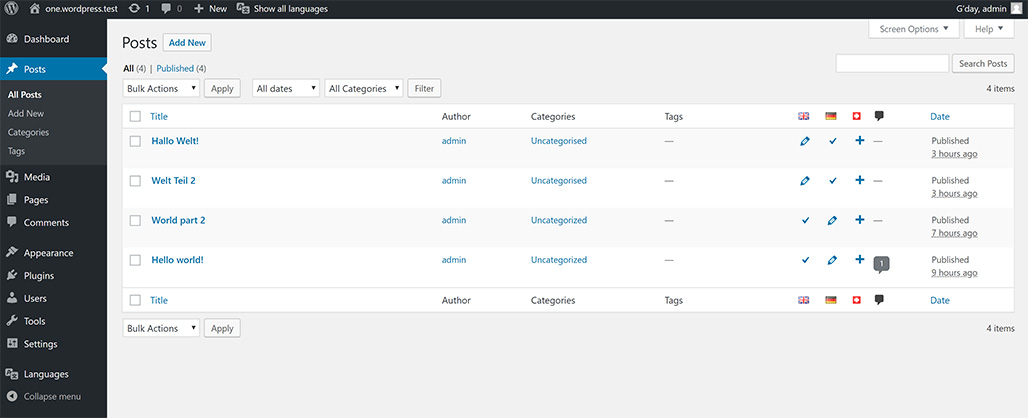
A second plugin I tried was Polylang. The plugin was very easy to set up. Simply install it via the plugins section and activate it. Once installed, you can set up the langauges you would like to localise into.

Here it's important to set up your base language (which in my case was English UK) first. This is especially important if you already have some content in your site. Once you have your base language, you can then add any number of additional languages. Once you set up your languages, you can then easily add the translation of your posts and pages via the editor.
Transposh
The third plugin I tried was Transposh. It took me a little bit longer to set up but once it's set up, it's incredibly easy to use.
To install the plugin, log into your dashboard, click on Plugins > Add New and search for Transposh, then install and activate the plugin. Next click on Transposh and go to the settings to enable the full version of your plugin. To do that simply tick the box at the top of the Settings page and save your change.

To update, simply click on Dashboard and Update. This will notify you that there is a new update for your plugins. Click on Plugins and install the updated version of Transposh.
Next go back to Transposh, click on Languages and click on the languages you would like to localise your site into. Don't forget to save to apply your changes. You can pre-translate into those languages by clicking on Utilities and selecting "Translate All Now". Once you have done that, make sure to proofread those translations as they are machine translations and probably extremely rough. To proofread, we need to enable the widget on the site first. Go to Appearance on your Dashboard and select Widgets, then look for Transposh and select where on your page you would like to show the Widget.
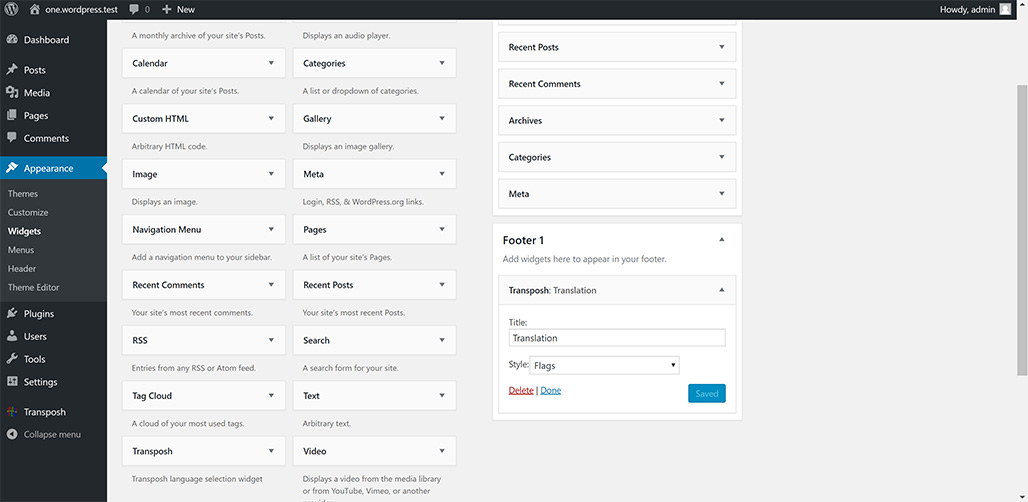
I added my widget to the footer. Once that's been added, you can then head over to your site and either add or edit the translations. Since I added the widget to the footer, I have to scroll all the way down to the footer and to find "Edit translations" with the flags for the languages I can update.

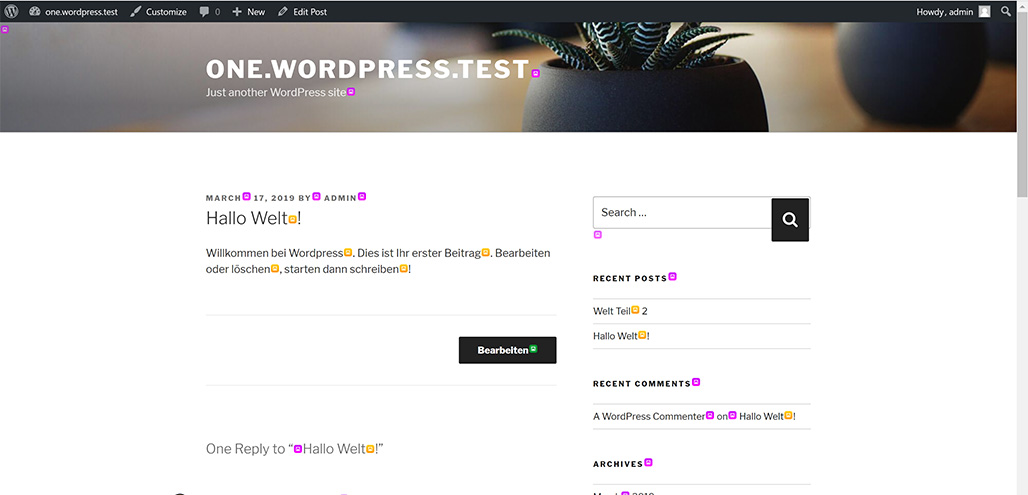
Once I click on the language (flag) I want to update I will see a lot of colourful marks on the page which indicate what content can be changed.
Simply click on what you would like to update or add and add your translations. There will most likely be some Google translated hints for you already.
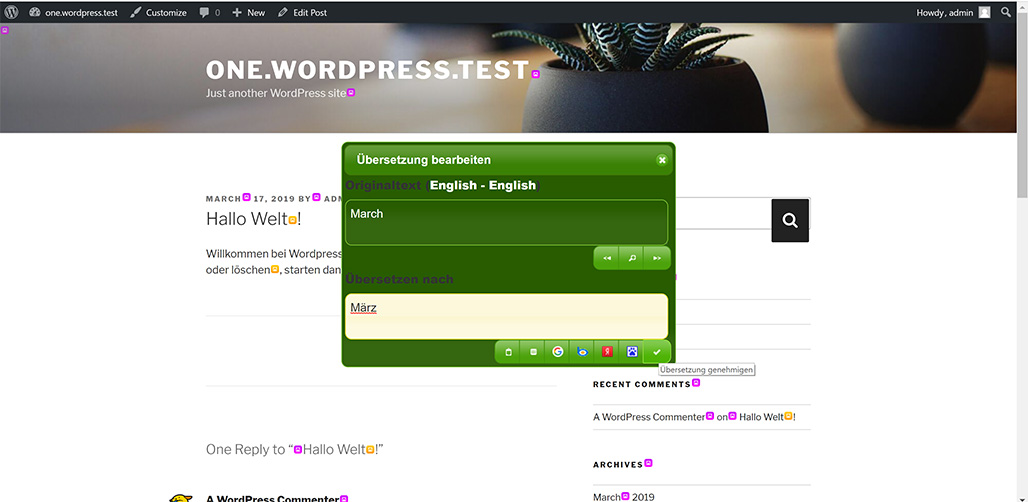
Once you are done, click on the tick to save the translation. If you would like to see how many translations have been added, you can do so in the Dashboard by clicking on Transposh and on Translation Editor.

One thing you probably should check is who can add translations. Go into the Transposh settings and there right at the top you will see some check boxes. By default anybody can edit your translations, which is probably not what you want, so simply check the appropriate check boxes and then save your changes.
Conclusion
This is just a quick and simple overview on how to get started with localisation in WordPress. There are many more plugins out there. Some are free and some are paid. It's probably worth trying a few out and seeing which one suits your needs best. Have you done any localisation in WordPress? What was your experience? Let me know in the comments.